Invite your team
Invite people, choose the right role for each, and understand seats.
Relio is most useful when your whole team works in it. Inviting someone takes a minute; choosing their role takes a little thought.
1. Send an invitation
- Open Settings → Members.
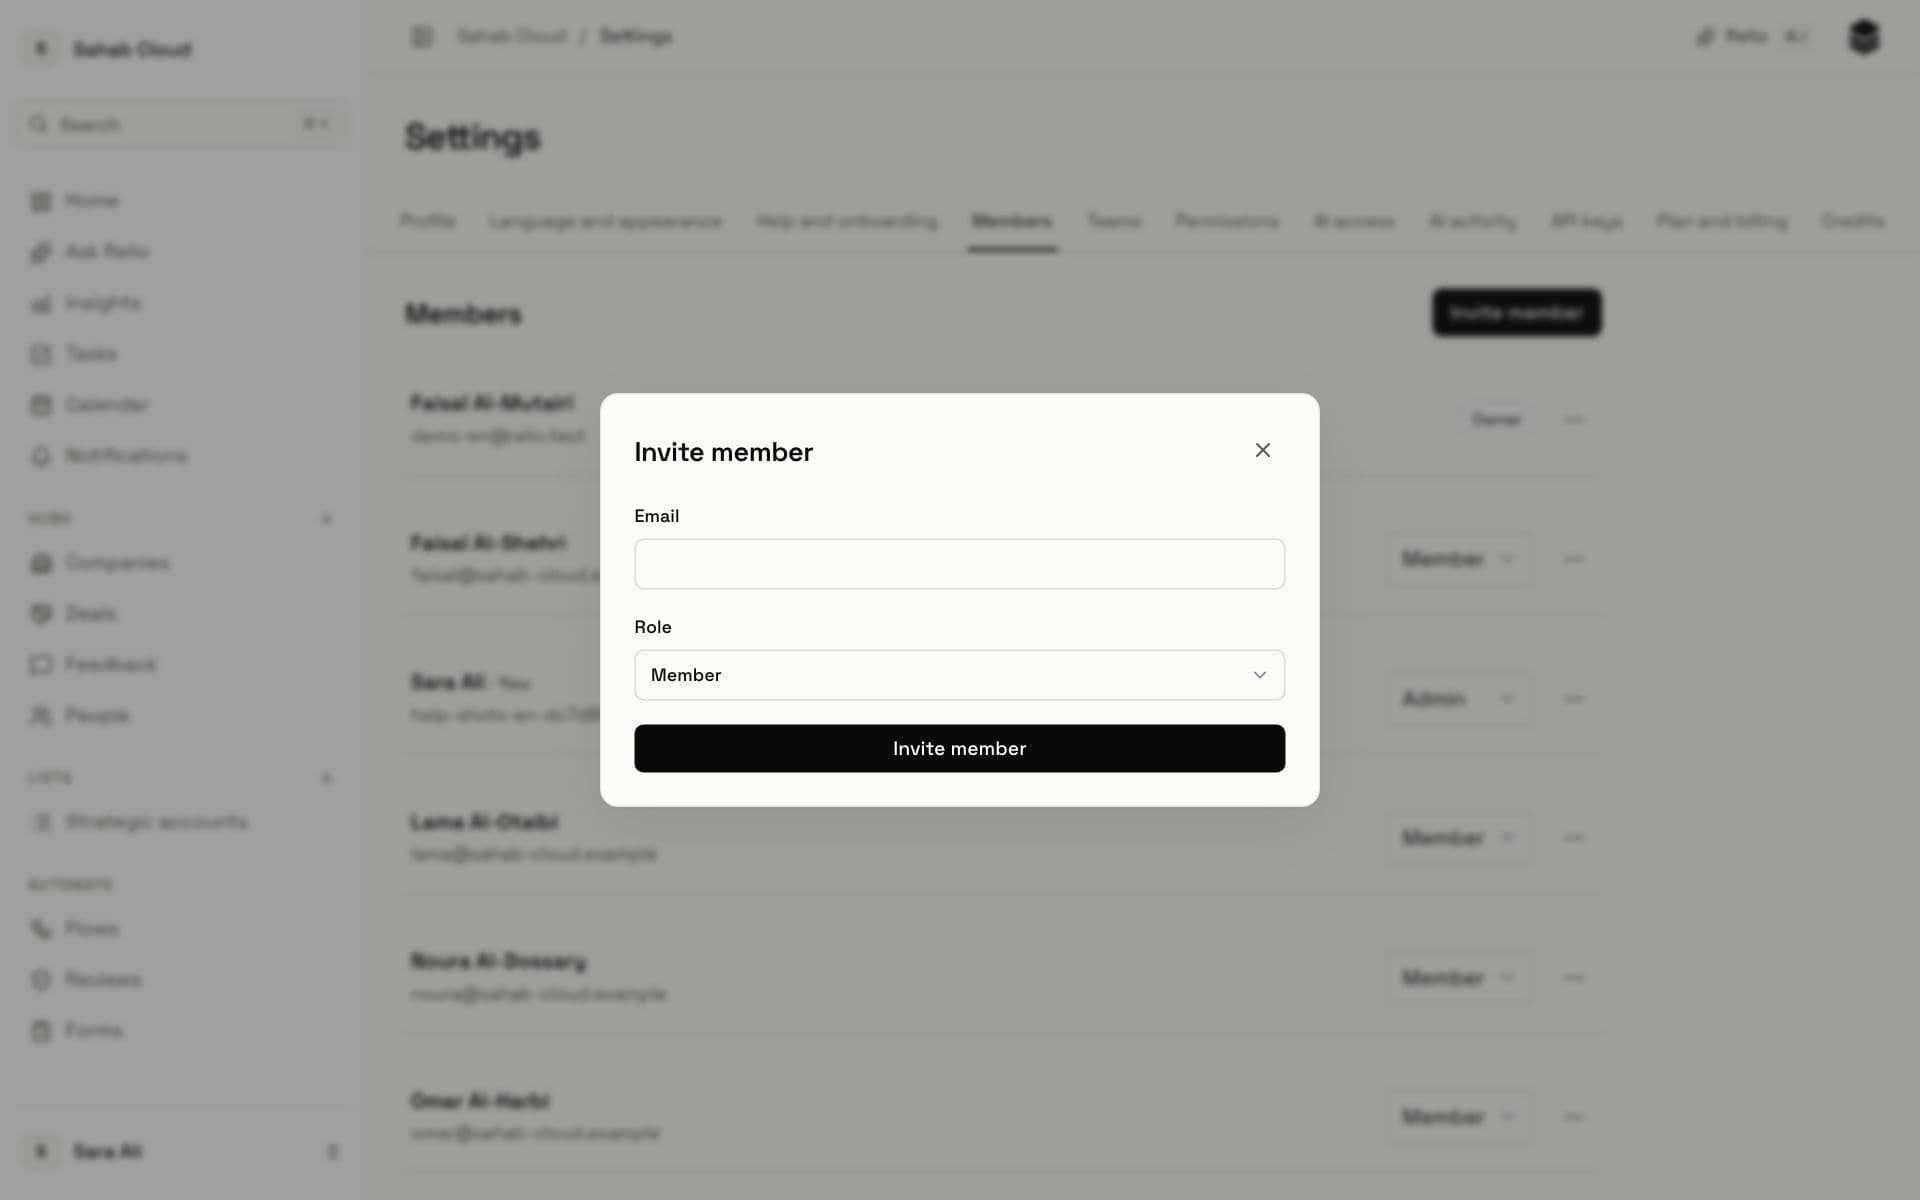
- Click Invite member.
- Enter their Email and choose a Role (below).
- Click Invite member.
Relio emails them an invitation. If email is not set up for your workspace, it shows an Invitation link to copy and send yourself. Invitations expire after seven days.
2. Choose the role
| Role | Can |
|---|---|
| Owner | Everything. Usually the person who created the workspace; ownership can be handed to another admin. |
| Admin | Everything except handing over ownership: Hubs and Signals, Flows, Forms, members, permissions, AI settings, plans and billing. |
| Member | Read and edit Entries across the workspace and use Relio AI, unless an admin restricts them. Cannot change Hubs, Flows or settings. |
| Guest | Only what an admin explicitly grants. Starts with no access — useful for an outside partner who should see one Hub. |
Members' access can be narrowed — hide a Hub, or a single Signal such as *Margin* — in Settings → Permissions.
3. Following up invitations
Under Invitations you see each one's status: Pending acceptance, Accepted, Invitation expired or Invitation revoked. Use Resend invitation to send a new link — the old one stops working.
4. Seats
Your plan includes a number of users. If inviting someone would go over it, Relio says so and offers Add users, which opens Plan and billing.
Course complete
You have linked records, a Signal of your own, a working pipeline, saved Views and a team. From here:
Checked against Relio on 29 October 2026